 If you’ve been using Microsoft Windows for a while you’ve probably noticed that many of the dialog boxes you encounter have both an “Apply” button and an “OK” button.
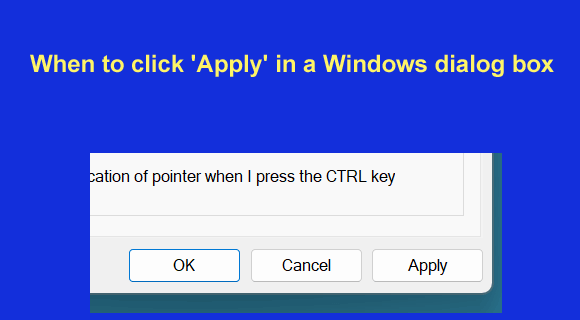
If these buttons aren’t coming to mind at the moment, take a quick glance at the images on this page for a visual reminder.
The purpose of the “Apply” button is to make a settings change that you just made take effect immediately without closing the dialog box.
The thing is, clicking the “OK” button without clicking “Apply” works too, which brings up a question that I receive fairly often: “Do I need to click the “Apply” button AND the “OK” button after making a change?”
Well, in most cases the answer is no.
If you only changed one setting or you changed multiple settings within the same tab, you don’t need to click the “Apply” button at all. You can simply click “Ok” to make the setting(s) change(s) take effect and then close the dialog box, all with just a single mouse click.
The “Apply” button comes into play when you’re making settings changes that reside in two or more tabs within the same dialog box.
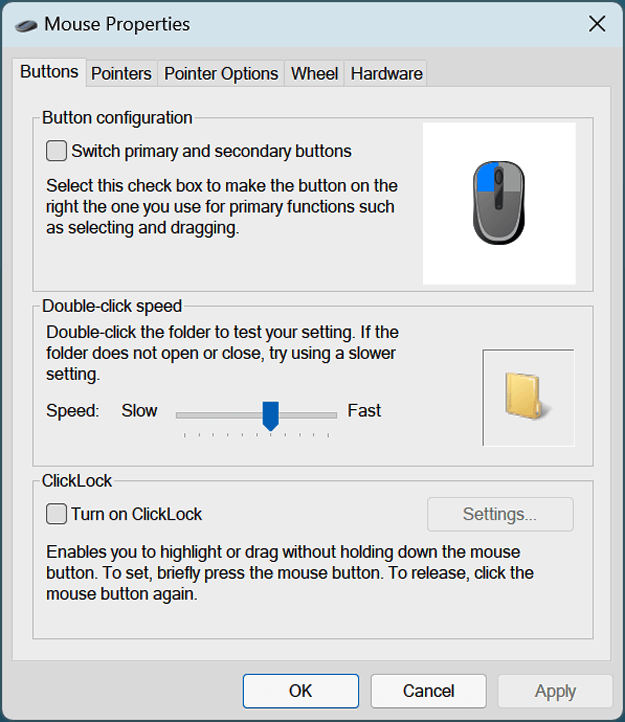
To illustrate what I’m talking about, take a look at this screenshot of the “Mouse Properties” dialog:

As you can see, there are several tabs at the top of of the dialog box. Every time you click a different tab you’ll get a different screen showing a number of different mouse-related settings.
If you were to open this dialog box with the sole intention of switching the primary and secondary mouse buttons you could simply check that box and then click “OK” since you don’t need to access another tab.
Again, clicking “OK” would immediately make the change you just made take effect AND close the dialog box.
The same would apply if you checked both check boxes on the screen without clicking any other tabs. A single click of the “OK” button would suffice.
However, let’s say you checked one or both of those check boxes and then decided you wanted to make a change on one of the other tabs as well…
You could simply click the “Apply” button to make those changes take effect immediately without closing the dialog box. You could then select the next tab and make your additional change(s) there.
Once again, if all the changes you make are confined to just one tab you can simply click “OK” and be done with it.
Bottom line: The only time you ever need to click “Apply” in a Windows dialog box is when you make multiple changes that span two or more tabs. If all of your changes are confined to the same tab, just click “OK” and you’re done.
Note: In most dialog boxes you can switch to a different tab without losing the settings change(s) you made in previously-opened tabs.
However, there are some dialog boxes in which you will lose your changes just as soon as you click on the next tab title. Therefore, I recommend that you always click “Apply” before switching tabs.