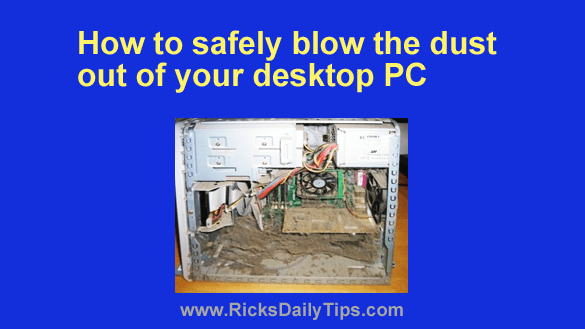
 Establishing and maintaining a thorough preventative maintenance routine can help keep your PC’s hardware and operating system running smoothly for years to come.
Of course such a routine includes keeping your PC free of viruses, spyware and other forms of malware.
But it also means keeping the inside of the physical computer itself clear of dust and debris that can smother the components and clog up the fans and cause the computer’s internal components to overheat.
The best way to accomplish that second task is to simply open up the case and blow out the dust.
Just stop by your local Walmart or electronics store and pick up a can of compressed air, then head home and get to work.
It’s important to perform this dust removal procedure the correct way in order to avoid damaging the fragile and electrostatically sensitive internal parts of your PC. This is what I recommend:
1 – Unplug all the cables and wires connected to your PC. If necessary, label them and/or draw a diagram to help you re-connect them after the cleaning job is finished.
2 – Since there will be dust flying everywhere it is best to carry the computer outside for cleaning.
3 – Place the computer on a sturdy, flat surface and remove the side panel.
4 – Blow the dust out of the inside of the computer case. Move the nozzle around until you no longer see any dust flying out, being extremely careful not to touch any of the internal components with either the can, the nozzle or any part of your body.
Important: Make sure you don’t accidentally loosen or disconnect any cables inside the machine while you’re working.
5 – Carefully and gently insert a long, narrow object into one of the case fans in order to keep the blades from rotating as you blow air through them.
I use a long “lollipop stick” like the ones used in the kitchen for making candy, but wooden skewers or chopsticks will also work just fine. Now, blow the dust out of that fan housing.
6 – Repeat the last step for all remaining case fans (some modern PCs have at more than one).
7 – Blow out the inside of the case once again in order to remove any dust from the fans that might have landed inside the case.
8 – Remove any dust that might be on the side panel that you removed in step 3, then re-attach it to the computer.
9 – Carry the machine back inside the house and reconnect the cables.
10 – Turn the computer on and get right to work!
Here’s a short video I made a few years ago that demonstrates the above procedure:
That’s it, you’re done! Repeating this procedure every few months will go a long way towards keeping your PC in good working order for years to come!
Bonus tip: If you don’t want to keep having to buy cans of compressed air (which are relatively expensive), read this post for an excellent alternative.