Want to get my easy to follow Tech Tips in your email?
Sign up for my daily Rick’s Tech Tips Newsletter!
Switching email providers might feel like a big step, especially if you’ve been using Outlook for years. But whether you’re looking for a more user-friendly experience, better integration with Google services, or just a fresh start, moving to Gmail can be a great choice.
Personally, I just like the freedom of using a web-based email system that can be used from any device, at any time.
The good news? You don’t have to be a tech expert to make the switch. This guide will walk you through each step. We’ll keep things simple, clear, and to the point – so you can move to Gmail with confidence and ease.
Step 1 – Create a Gmail account.
First, decide whether you want to use the free Gmail plan that comes with a @gmail.com address (i.e., [email protected]) or a paid Google Workspace plan with a custom email address (i.e., [email protected]). Free Gmail accounts come with 25 GB of free storage space and access to all popular Google products, while Google Workspace offers a range of different packages.
Once you’ve selected your plan, create a Google account, and you’re ready to go!
Step 2 – Transfer your emails and contacts.
Since it is not possible to convert an Outlook account to Gmail, to continue working with your old emails in Gmail, you need to transfer them.
There are two ways of transferring emails: manually using a desktop application like Outlook or automatically using a paid third-party service like VaultMe.
The manual method takes more time and is error-prone, but it is free and works well for small accounts. The automatic method comes with a price but is more efficient and often pays off. Each situation is different, so consider how much time and effort you are willing to devote to this task before deciding.
Since detailed instructions for these two methods are beyond the scope of this article, you can refer to this guide for a step-by-step walkthrough: How to Transfer Emails from Outlook to Gmail — Two Options.
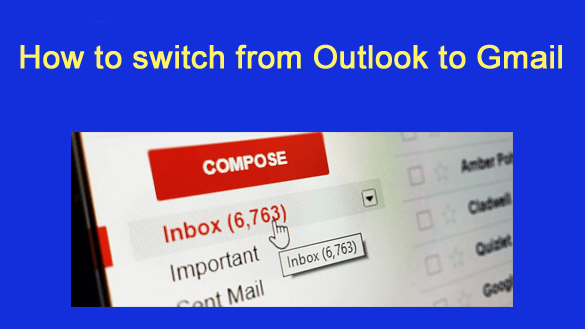
Step 3 – Get familiar with Gmail’s features.
After transferring your emails, take some time to explore Gmail’s features.
First, learn how labels work. Unlike folders in Outlook, labels allow you to tag an email with multiple categories, making the email organization more flexible.
Then, experiment with the search bar to find messages using different criteria.
Also, check out Gmail’s integrations with other Google tools, such as Google Calendar or Google Drive. The more familiar you are with Gmail’s tools, the more efficiently you’ll be able to manage your email.
Step 4 – Recreate filters.
If you used filters or rules in Outlook to automatically sort emails, set them up again in Gmail.
To set up filters, sign in to your Gmail account in a browser and go to Settings > All Settings > Filters and Blocked Addresses. You can create new filters based on email addresses, subjects, keywords, and more here. Gmail’s powerful filtering options can help you stay organized without much effort.
Step 5 – Set email forwarding in Outlook (optional).
If you’re not ready to abandon your Outlook account completely, you can set up email forwarding to ensure you don’t miss any messages. In Outlook in your browser, go to Settings > Mail > Forwarding.
You can also create a rule to forward specific emails, such as those from important contacts while leaving others behind.
Step 6 – Set a vacation reply in Outlook (optional).
If you want to let people know you’ve switched to a new email address, consider setting up a vacation reply in Outlook. This automated message can inform anyone who emails you that you’re now using Gmail and provide them with your new email address.
To do this, sign in to your Outlook account in a browser and go to Settings > Mail > Automatic replies.
Step 7 – Replace your Outlook email address with your Gmail address.
Once everything has been set up, you need to replace your Outlook email address with your new Gmail email address for all services linked to the Outlook account, including bank accounts, social media, and payment services.
Step 8 – Close your Microsoft account (optional).
If you’re confident you won’t need your Outlook account anymore, you can choose to close it. But remember that Outlook is a part of a Microsoft account, so you can’t delete your Outlook account without deleting all Microsoft data.
Before closing your Microsoft account, make sure you’ve saved all the information. This may include transferring your OneDrive files to Google Drive. Then, follow Microsoft’s instructions for closing an account.
Keep in mind that closing your account is permanent, so only do this if you’re sure you won’t need access in the future.
Step 9 – Enjoy the next chapter of your digital life
With everything set up, you’re ready to embrace Gmail and its benefits. Take some time to explore additional features and personalize your account to make it work best for you. Congratulations on starting this new chapter!