 Note: The links in this post are affiliate links.
Question from Samuel: Hi, Rick. I bought a 1TB solid state drive (SSD) to replace the aging 1GB drive in my laptop.
I read your post about using Clonezilla to clone the contents of the old drive onto the new one, but I know from one of your other posts that I’ll need to buy a SATA to USB adapter too.
That all seems like it would be too complicated for me. Is there a simpler way to do this?
I’m a dummy when it comes to computers and I just KNOW I’ll mess something up if it isn’t super easy.
What’s the simplest way possible to clone a hard drive onto an SSD (that’s hopefully dummy-proof)? I know I’ll probably have to spend a few bucks but that’s ok.
Rick’s answer: Sam, I can understand your apprehension about cloning your old hard drive and potentially losing all of your files. And I must admit, there is a always a chance that you could do that using Clonezilla or any other software-based cloning method.
Luckily, there’s a super-simple device that’s very reasonably priced that makes the process of cloning a drive virtually impossible to mess up.
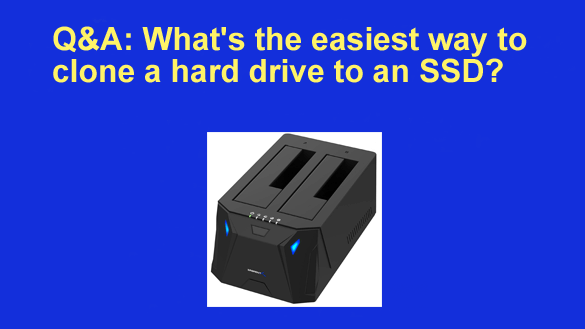
It’s the SABRENT USB 3.0 to SATA I/II/III Dual Bay External Hard Drive Docking Station, and it’s hands-down one of the easiest and safest ways to clone the contents of one drive onto another drive.
It’s super-simple to use, and it works with both 3.5″ and 2.5″ hard drives and 2.5″ SSDs.
All you have to do is first place the source drive (the drive you want to clone) in one slot on the docking station and the destination drive (the blank drive) in the other slot, then press a button to initiate the cloning process.
Yep, you read that correctly. All you have to do is press a button.
By the way, the docking station won’t need to be connected to a computer in order to clone the drive. It’s a stand-alone tool when used for cloning a drive.
Once the cloning process is complete you can go ahead and install the SSD (your destination drive) into your computer. After that you’ll be able to boot from from the much-faster SSD and use the computer as you always have.
You’ll be able to access the files on the original hard drive at any time by inserting it into the docking station and then plugging the docking station into your PC’s USB port. The hard drive will then show up in File Explorer just like any other external USB drive.
(Note: I still recommend that you make frequent backups of the SSD to ensure that you won’t lose any new files that will be added to the SSD on a regular basis.)