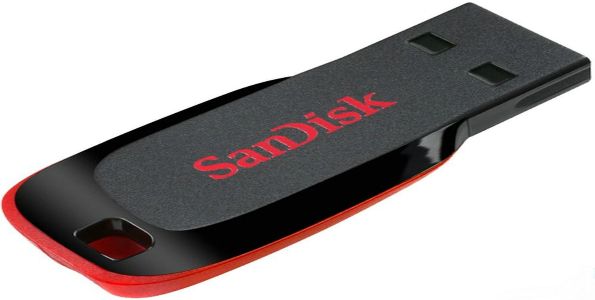
 Question from Julie: I have a 64GB USB flash drive that I use to transfer files back and forth between my work computer and my home computer.
Both of these computers have Windows 10 on them.
I’ve been using this flash drive every day for about two years with no problems at all.
Starting last week every time I insert the drive into either computer I get a message saying the drive has a problem and needs to be scanned and fixed.
I’ve clicked the button to scan drive and fix the drive several times but I always get the same message the next time I plug it into a computer.
Is there any way to fix this problem or do I need to just replace the drive? I really like this one because it’s small and it attaches to my key ring.
Rick’s answer: Julie, this is a fairly common issue with removable flash drives, and there are several possible causes.
The most common cause of this “Scan and Fix” issue is removing the drive from the computer without properly “ejecting” it.
When a flash drive is connected to a PC a little “Safely Remove Hardware and Eject Media” icon should be present in the “Notifications” area of the screen. Here’s a partial screenshot that shows what it looks like:

When you click that icon it tells Windows that you’re finished using the drive and you’re ready to remove it from the computer. Windows will then write any files that are waiting to be written to the drive and then unmount it, making it safe to remove it from the PC.
By the way, you can also “eject” a flash drive from within File Explorer. Just follow the steps below:
1 – Press the Windows+E key combination to open File Explorer.
2 – Click the This PC link over in the left-hand column.
3 – Right-click on the flash drive and then select Eject from the drop-down menu.
That’s all there is to it. You can now safely remove the flash drive from the computer.
Important: If you change your mind and access the flash drive again before you physically remove it, you’ll need to “eject” it once again before you actually remove it from the PC.
Now that you know how to digitally “eject” a removable drive, try this to see if it fixes the “scan and fix” issue with the drive you’re having problems with:
1 – Insert the flash drive into an open USB port.
2 – When prompted, click the “There is a problem with this drive…” notification, then click Scan and fix.
Windows will now scan the drive and attempt to fix any errors that it finds. If the repair was successful you can keep using the drive as you have in the past (just be sure to “eject” it every time before you remove it from the computer).
If Windows tells you that it wasn’t able to repair the drive that means it likely has a hardware issue that cannot be fixed. You’ll need to stop using this drive and replace it with a new one. (#ad)
There’s also a good chance that the “repair” will be successful only to have the drive fail again the next time you use it. If so, you’ll need to replace it.
Note: You said you’ve been using this drive every day for two years so it’s extremely likely that the drive indeed has developed a hardware problem than cannot be permanently repaired. Just sayin’.
That’s all there is to it. Hopefully the “scan and repair” procedure detailed above fixed the issue you were having with this drive. If not, you can take comfort in the fact that two years of daily use is absolutely awesome for a removable flash drive!
I hope this helps, Julie. Good luck!
Update from Julie: I followed the steps you listed and it said the drive was successfully repaired, but I got the error message again the next time I plugged it in.
At least now I know that the problem was a bad flash drive. I bought a new 256GB drive to replace it. Thanks for all your help! You’re awesome!!
Bonus tip: Want to make sure you never miss one of my tips? Click here to join my Rick’s Tech Tips Facebook Group!
If Facebook isn’t your cup of tea, I invite you to sign up for my Rick’s Daily Tips Daily Update Newsletter.
Want to ask Rick a tech question? Click here and send it in!
If you found this post useful, would you mind helping me out by sharing it? Just click one of the handy social media sharing buttons below.