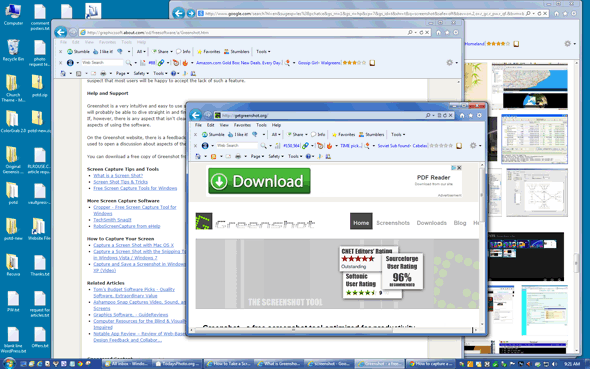
From time to time we need to capture an image of the items currently being displayed on the computer screen. This is called a “screenshot”, and it can display the contents of the entire screen or just a portion of it. Windows makes it easy to create a screenshot of the entire screen. Here’s how:
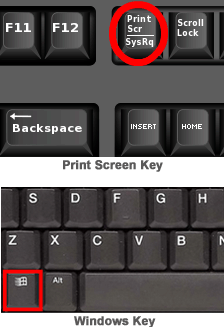
 1 – Press the “Print Screen” key (Labeled PrtScn on some keyboards).
2 – Open your favorite image editing program. (Photoshop Elements, GIMP, etc.)
3 – Open a new “blank” file and paste the contents of the clipboard into it. You can either choose the “Paste” option from the menu or simply press CTRL-P on the keyboard.
This method works great with all versions of Microsoft Windows, but if you’re running Windows 8 it’s even easier. Simply hold down the “Windows” key, then press the “Print Screen” key. You will find that Windows has automatically created a picture file representing the entire screen. It will be named Screenshot.png and you’ll find it in your “Pictures” folder. You can now use this file as-is or edit it in your favorite image editor.
The methods mentioned above take a “snapshot” of the entire screen, but what if you want to capture just a portion of the current screen in a single step? Well, no version of Windows allows you to do that with a hotkey combination (yet), but there is a nifty little free screen capture utility that allows you to do just that and a whole lot more. It’s called Greenshot, and you can download it for free at http://getgreenshot.org.