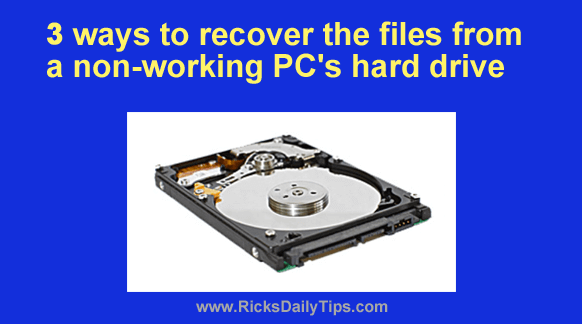
 I receive hundreds of tech questions every week, and the one I seem to get asked most often is how to retrieve the files from the hard drive after a PC goes belly-up.
My answer always depends on which part of the computer has failed.
If the hard drive itself is the component that died, you’ll have to either send the drive off to a data recovery service or purchase a data recovery software utility and attempt to recover the files yourself.
This post gives more information about your options.
If some other part of the PC stopped working but the hard drive still works, you’ll likely find it relatively easy to retrieve your files from the drive. You basically have three options for doing that:
1 – Remove the hard drive from the defective PC and install it as a second drive in a working desktop computer.
Once you have the drive connected to the PC, simply boot the computer into Windows, navigate to the folder(s) that contain the files you wish to retrieve, then copy them onto an external USB hard drive.
If the hard drive was removed from a laptop you likely won’t be able to install it into a second laptop because very few laptops have an empty drive bay.
However, you can temporarily connect the drive to a desktop PC if the drive is a SATA drive and the PC has an unused SATA cable.
You’ll also have to be careful to prevent the dangling hard drive from touching one of the PC’s components or circuit board and shorting something out.
2 – You can install the hard drive from the defective PC into an external USB hard drive case (for about $20 or less). This effectively turns the drive containing the files you wish to retrieve into an external USB hard drive.
This post explains how to convert an internal hard drive into an external USB hard drive.
3 – You can plug the drive into an inexpensive hard drive docking station like the one mentioned in this post.
If the hard drive the old PC is working one of those three options should work for you.
Once you have the drive physically connected to another computer you can access the files on it simply navigating to the desired folder(s) in ‘File Explorer’ and copying them from there.
Just be aware that once you try to copy the files onto a different drive you might encounter an error saying your don’t have permission to access the files on the old drive.
If so, you can use a fantastic free tool called Take Ownership to give yourself the permission needed.
Of course the best way to avoid having to even worry about losing your important files due to a hardware problem is to make sure you always have a fresh backup on hand.
Click here for instructions for backing up your hard drive in Windows 10 or right here for Windows 11.
As they say, an ounce of prevention is worth a pound of cure!
That’s all there is to it. Now you know how to retrieve your files from a hard drive that was removed from a non-working Windows PC.